Connecting remotely to your Raspberry Pi from a Windows computer is easier than you think. Whether you're a tech enthusiast or just starting out, this guide will walk you through everything you need to know. From setting up your Raspberry Pi to troubleshooting common issues, we’ve got you covered. So, buckle up and let’s dive into the world of remote connections!
Remote connections have become a staple in modern computing. They allow us to access devices from afar, streamlining workflows and saving time. If you're working with a Raspberry Pi, being able to connect to it from your Windows PC is a game-changer. No more plugging in monitors or keyboards – just pure remote control magic.
But here's the thing: not everyone knows how to set this up properly. That's where we come in. This article is your go-to resource for mastering the art of remote connections between your Raspberry Pi and Windows computer. Let’s get started!
Read also:Keith Conan Richter Released The Untold Story You Wont Believe
Why Remote Connection to Raspberry Pi from Windows Matters
Before we dive into the nitty-gritty, let’s talk about why remote connections are so important. In today’s fast-paced world, efficiency is key. Imagine being able to manage your Raspberry Pi projects without needing to physically interact with the device. Sounds pretty sweet, right?
Remote connections offer several advantages:
- Convenience: Access your Raspberry Pi from anywhere in the house or even across the globe.
- Flexibility: Work on projects without tying up your main computer.
- Cost-Effective: No need for additional monitors, keyboards, or mice.
Whether you're tinkering with IoT projects, setting up a home server, or just exploring the possibilities of Raspberry Pi, remote connections are your best friend. Let’s explore how to make this happen!
Setting Up Your Raspberry Pi for Remote Connection
Before you can connect remotely, your Raspberry Pi needs to be ready. Here’s a step-by-step guide to preparing your device:
Step 1: Install the Latest Raspberry Pi OS
Start by ensuring your Raspberry Pi is running the latest version of Raspberry Pi OS. This operating system comes with built-in tools that make remote connections a breeze.
Pro Tip: Always keep your Raspberry Pi OS updated to avoid compatibility issues.
Read also:Jessica Clark Ohio The Untold Story You Need To Know
Step 2: Enable SSH
SSH (Secure Shell) is the backbone of remote connections. To enable SSH on your Raspberry Pi:
- Open the Raspberry Pi Configuration tool.
- Go to the "Interfaces" tab.
- Select "SSH" and choose "Enabled."
That’s it! SSH is now active and ready to go.
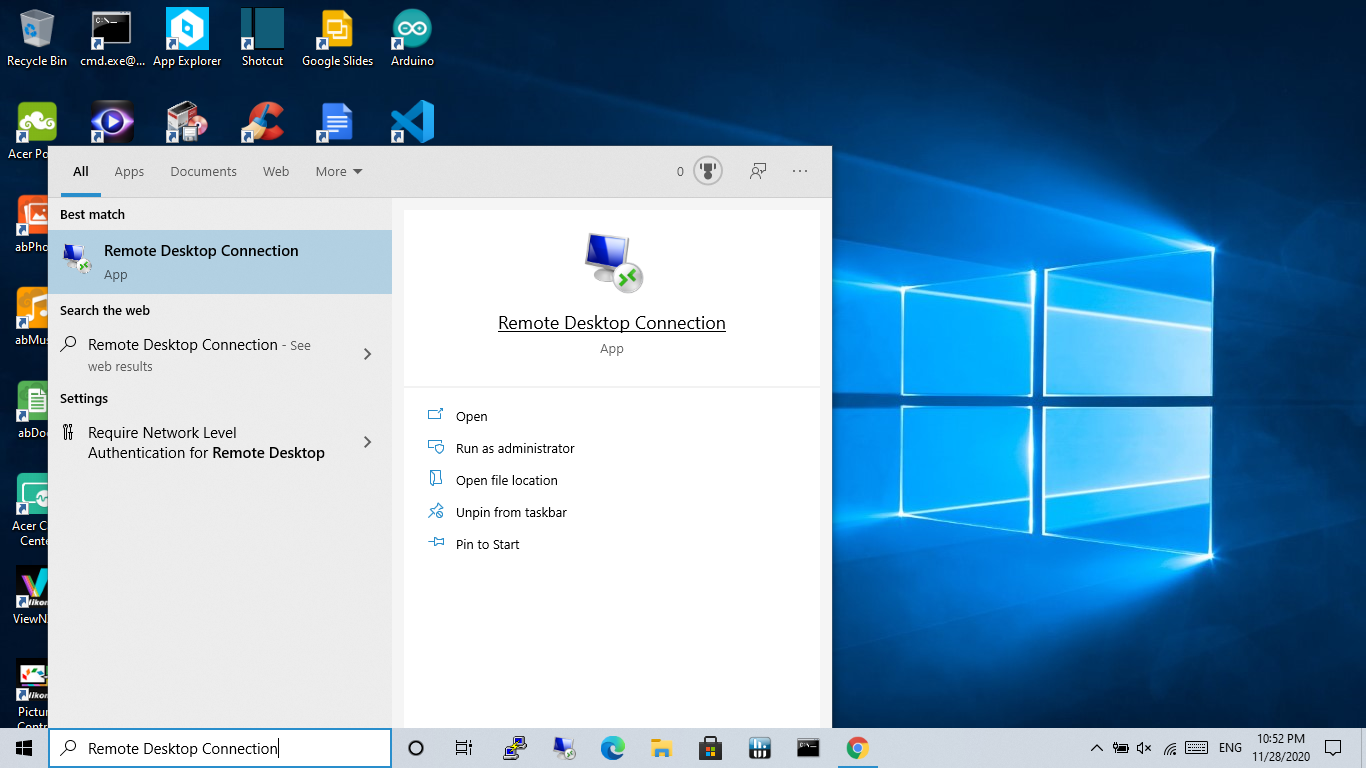
Connecting to Raspberry Pi Using Windows
Now that your Raspberry Pi is set up, it’s time to connect from your Windows computer. Here’s how:
Option 1: Using PuTTY
PuTTY is a popular SSH client for Windows. Follow these steps to connect:
- Download and install PuTTY from the official website.
- Open PuTTY and enter your Raspberry Pi’s IP address in the "Host Name" field.
- Set the port to 22 (default for SSH).
- Click "Open" and log in with your Raspberry Pi credentials.
Option 2: Using Windows Terminal
Did you know Windows 10 and later versions come with an SSH client built-in? Here’s how to use it:
- Open Windows Terminal.
- Type
ssh pi@and press Enter. - Enter your Raspberry Pi password when prompted.
Voilà! You’re now connected.
Troubleshooting Common Issues
Even the best-laid plans can hit a snag. Here are some common issues you might encounter and how to fix them:
Problem 1: Can’t Connect to Raspberry Pi
If you’re unable to connect, check the following:
- Ensure SSH is enabled on your Raspberry Pi.
- Verify the IP address of your Raspberry Pi.
- Make sure both devices are on the same network.
Problem 2: Connection Drops Frequently
Connection drops can be frustrating. Try these solutions:
- Check your internet connection stability.
- Disable any firewalls that might be blocking the connection.
- Update your Raspberry Pi OS and Windows system.
Enhancing Security for Remote Connections
Security should always be a top priority. Here’s how to keep your remote connections safe:
Tip 1: Use Strong Passwords
A strong password is your first line of defense. Avoid using simple or easily guessable passwords.
Tip 2: Enable Key-Based Authentication
Key-based authentication adds an extra layer of security. Here’s how to set it up:
- Generate an SSH key pair on your Windows computer.
- Copy the public key to your Raspberry Pi.
- Disable password authentication in the SSH configuration file.
Now, only devices with the correct private key can connect.
Exploring Advanced Features
Once you’ve mastered the basics, it’s time to explore some advanced features:
Feature 1: VNC for Graphical Access
VNC (Virtual Network Computing) allows you to access the graphical interface of your Raspberry Pi. To set it up:
- Enable VNC in the Raspberry Pi Configuration tool.
- Install a VNC client on your Windows PC.
- Connect using your Raspberry Pi’s IP address.
Feature 2: Port Forwarding
Port forwarding lets you access your Raspberry Pi from outside your local network. This is great for remote work or monitoring.
Warning: Only use port forwarding if you understand the security implications.
Best Practices for Remote Connections
To ensure a smooth and secure experience, follow these best practices:
- Regularly update your Raspberry Pi OS and Windows system.
- Use a static IP address for your Raspberry Pi to avoid connection issues.
- Monitor your network for suspicious activity.
Real-World Applications of Remote Connections
Remote connections aren’t just for hobbyists. They have practical applications in various fields:
Application 1: Home Automation
Use your Raspberry Pi to control smart home devices remotely. From adjusting thermostats to turning lights on and off, the possibilities are endless.
Application 2: Data Monitoring
Set up your Raspberry Pi as a data monitoring station. Connect remotely to check sensor readings or log data.
Resources and Further Reading
Here are some resources to deepen your knowledge:
Conclusion: Take Your Skills to the Next Level
Remote connection to Raspberry Pi from Windows is a powerful skill that opens up a world of possibilities. From setting up SSH to exploring advanced features, this guide has equipped you with everything you need to succeed.
So, what are you waiting for? Start experimenting and take your projects to the next level. Don’t forget to share your experiences in the comments below and check out our other articles for more tech tips!
Table of Contents
- Why Remote Connection to Raspberry Pi from Windows Matters
- Setting Up Your Raspberry Pi for Remote Connection
- Connecting to Raspberry Pi Using Windows
- Troubleshooting Common Issues
- Enhancing Security for Remote Connections
- Exploring Advanced Features
- Best Practices for Remote Connections
- Real-World Applications of Remote Connections
- Resources and Further Reading
- Conclusion