Hey there, tech enthusiasts! If you're into building your own gadgets or automating your home, then you've probably heard about Raspberry Pi. This little powerhouse is more than just a tiny computer—it's your gateway to endless possibilities. And today, we're diving deep into one of its coolest applications: remote monitoring. Whether you're looking to set up a security system, keep an eye on your pets, or monitor environmental conditions, Raspberry Pi has got you covered. So, buckle up and let's explore the world of remote monitoring with this awesome device!
Remote monitoring might sound like something only professionals can pull off, but with Raspberry Pi, it's surprisingly easy. This project is perfect for beginners who want to dip their toes into the world of IoT (Internet of Things) and advanced users who are ready to take their skills to the next level. The beauty of Raspberry Pi lies in its flexibility and affordability. You don't need to break the bank to get started, and the learning curve is manageable if you follow the right steps.
Before we dive into the nitty-gritty details, let's talk about why remote monitoring is such a big deal. Imagine being able to check on your home, office, or even your garden from anywhere in the world. No more worrying about leaving the door unlocked or wondering if your plants are getting enough water. With Raspberry Pi, you can create a customized monitoring system that fits your needs and budget. So, are you ready to become a remote monitoring guru? Let's get started!
Read also:Ronnie Mcnutt The Unsung Hero Of Music And Culture
What is Raspberry Pi and Why Should You Use It for Remote Monitoring?
Raspberry Pi is a single-board computer that's small enough to fit in the palm of your hand but powerful enough to handle complex tasks. It was originally designed as an educational tool to teach kids about programming, but it quickly gained popularity among hobbyists, engineers, and tech enthusiasts. The Pi's versatility makes it ideal for projects like remote monitoring. It can run various operating systems, connect to multiple sensors, and interface with other devices, making it a perfect candidate for building a DIY surveillance system.
Here are some reasons why Raspberry Pi is the best choice for remote monitoring:
- Affordability: Raspberry Pi is incredibly affordable compared to other hardware options. You can get a basic model for under $35.
- Community Support: There's a massive community of Raspberry Pi users who share tutorials, code snippets, and project ideas. This means you'll never run out of resources or support.
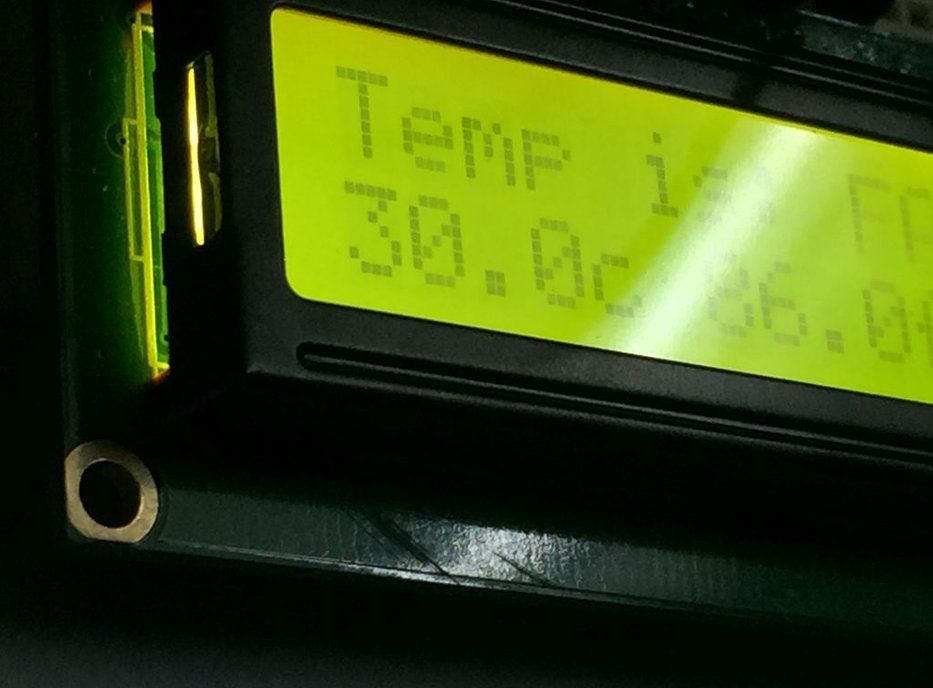
- Customizability: Raspberry Pi can be customized to fit your specific needs. Whether you want to monitor temperature, humidity, motion, or even sound, there's a sensor for that.
- Compatibility: Raspberry Pi works seamlessly with a wide range of software and hardware, giving you the freedom to experiment and innovate.
Now that you know what Raspberry Pi is and why it's so awesome, let's move on to the next step: setting up your remote monitoring system.
Setting Up Your Raspberry Pi for Remote Monitoring
Setting up Raspberry Pi for remote monitoring might seem daunting at first, but trust me, it's easier than you think. All you need is a Raspberry Pi board, a power supply, a microSD card, and a few additional components depending on your project. Here's a step-by-step guide to help you get started:
Step 1: Choose the Right Raspberry Pi Model
Not all Raspberry Pi models are created equal. For remote monitoring, you'll want to choose a model that has enough processing power and connectivity options. The Raspberry Pi 4 Model B is a great choice because it supports Wi-Fi, Bluetooth, and USB 3.0, making it perfect for streaming video and collecting data.
Step 2: Install the Operating System
Raspberry Pi requires an operating system to function. The easiest way to install one is by using Raspberry Pi Imager, a free tool that lets you write the OS to a microSD card. For remote monitoring, we recommend using Raspberry Pi OS Lite, which is lightweight and ideal for headless setups (no monitor or keyboard required).
Read also:Access North Ga Your Ultimate Guide To Unlocking The Hidden Gems
Step 3: Connect to the Internet
Once your Raspberry Pi is up and running, you'll need to connect it to the internet. You can do this via Wi-Fi or Ethernet, depending on your setup. Make sure to configure the network settings so that your Pi can communicate with other devices and send data to the cloud if needed.
Now that your Raspberry Pi is set up, it's time to add some sensors and cameras to make your remote monitoring system complete.
Choosing the Right Sensors for Your Remote Monitoring Project
Sensors are the backbone of any remote monitoring system. They allow your Raspberry Pi to collect data from its environment and send it to you in real-time. The type of sensors you choose will depend on what you want to monitor. Here are some popular options:
- Temperature and Humidity Sensors: Perfect for monitoring environmental conditions, especially in greenhouses or server rooms.
- Motion Sensors: Ideal for detecting movement and triggering alerts when someone enters a restricted area.
- Light Sensors: Useful for monitoring light levels and adjusting lighting systems automatically.
- Sound Sensors: Great for detecting unusual noises or monitoring audio levels.
When choosing sensors, make sure they're compatible with Raspberry Pi and have clear documentation. This will save you a lot of headaches down the line.
Setting Up a Camera for Video Monitoring
No remote monitoring system is complete without a camera. The Raspberry Pi Camera Module is a fantastic option because it's designed specifically for Raspberry Pi and offers high-quality video and still images. Here's how to set it up:
Step 1: Connect the Camera Module
Connecting the camera module is as simple as sliding it into the designated port on your Raspberry Pi board. Make sure to power off your Pi before doing this to avoid damaging the components.
Step 2: Enable the Camera in Raspberry Pi Configuration
Once the camera is connected, you'll need to enable it in the Raspberry Pi configuration settings. You can do this by running the command `sudo raspi-config` in the terminal and selecting the camera option.
Step 3: Test the Camera
Before you start streaming video, it's a good idea to test the camera to make sure it's working properly. You can do this by running the command `raspistill -o test.jpg` to capture a test image.
With the camera set up, you're ready to start streaming video to your remote device.
Streaming Video with Raspberry Pi
Streaming video from your Raspberry Pi is where things get really exciting. There are several methods you can use, but one of the most popular is using MotionEyeOS. This lightweight operating system is specifically designed for video surveillance and makes it easy to stream video over the internet.
Step 1: Install MotionEyeOS
To install MotionEyeOS, you'll need to write it to a microSD card using Raspberry Pi Imager. Once the OS is installed, boot up your Raspberry Pi and access the MotionEye web interface by entering its IP address in a browser.
Step 2: Configure the Camera Settings
In the MotionEye interface, you can configure various settings such as resolution, frame rate, and motion detection. Take some time to experiment with these settings to find the best configuration for your needs.
Step 3: Set Up Remote Access
To access your video stream from anywhere, you'll need to set up remote access. This can be done using a service like Ngrok or by configuring port forwarding on your router. Once everything is set up, you'll be able to view your live feed from any device with an internet connection.
With video streaming up and running, let's take a look at some advanced features you can add to your remote monitoring system.
Advanced Features for Your Remote Monitoring System
Once you have the basics down, you can start adding advanced features to make your remote monitoring system even more powerful. Here are a few ideas:
1. Cloud Integration
Integrating your Raspberry Pi with cloud services like Google Cloud or AWS can give you access to advanced analytics and storage options. This is especially useful if you're collecting large amounts of data.
2. AI and Machine Learning
With the right software, you can use AI and machine learning to analyze your data and detect patterns. For example, you could train a model to recognize faces or identify specific objects in your video feed.
3. Automation
Automating tasks like sending alerts or adjusting settings based on sensor data can save you time and effort. You can use tools like IFTTT or Node-RED to create custom automations for your Raspberry Pi.
These advanced features can take your remote monitoring system to the next level, but remember to always prioritize security and privacy when working with sensitive data.
Security Best Practices for Remote Monitoring with Raspberry Pi
While remote monitoring offers many benefits, it also comes with some security risks. Here are some best practices to keep your system safe:
- Use Strong Passwords: Always use strong, unique passwords for your Raspberry Pi and any associated accounts.
- Enable Encryption: Encrypt your data transmissions to prevent unauthorized access.
- Regularly Update Software: Keep your operating system and applications up to date to protect against vulnerabilities.
- Limit Access: Restrict access to your system to trusted users only.
By following these security best practices, you can ensure that your remote monitoring system remains secure and reliable.
Conclusion: Take Your Remote Monitoring to the Next Level
And there you have it—a comprehensive guide to setting up the best remote monitoring system with Raspberry Pi. From choosing the right hardware to configuring advanced features, we've covered everything you need to know to create a customized monitoring solution that fits your needs.
Remember, the possibilities with Raspberry Pi are endless. Whether you're monitoring your home, office, or even a remote location, this little computer can help you stay connected and informed. So, what are you waiting for? Grab your Raspberry Pi and start building your dream monitoring system today!
Don't forget to leave a comment below and share your experiences with Raspberry Pi remote monitoring. And if you found this article helpful, be sure to check out our other guides on all things tech. Happy building!
Table of Contents
- What is Raspberry Pi and Why Should You Use It for Remote Monitoring?
- Setting Up Your Raspberry Pi for Remote Monitoring
- Choosing the Right Sensors for Your Remote Monitoring Project
- Setting Up a Camera for Video Monitoring
- Streaming Video with Raspberry Pi
- Advanced Features for Your Remote Monitoring System
- Security Best Practices for Remote Monitoring with Raspberry Pi
- Conclusion: Take Your Remote Monitoring to the Next Level