Are you ready to dive into the world of remote SSH login IoT server free Android? If you're like me, you're probably tired of complicated setups and expensive software that doesn't deliver. But what if I told you there’s a way to connect to your IoT server using just your Android device—without breaking the bank? Let’s get started!
First things first, let’s talk about why this topic is so important. In today’s tech-driven world, having the ability to remotely access your IoT server can be a game-changer. Whether you're managing smart home devices or monitoring industrial equipment, remote SSH login provides the flexibility and control you need.
And guess what? You don’t have to spend a dime to make it happen. With the right tools and a little know-how, you can set up a secure connection from your Android device. So, buckle up because we’re about to take you on a journey through the ins and outs of remote SSH login IoT server free Android.
Read also:Gang Stalking Signs Are You Being Targeted Heres What You Need To Know
Now, let’s break down everything you need to know about remote SSH login IoT server free Android in a way that’s easy to follow. From setting up your server to troubleshooting common issues, this guide has got you covered. Ready? Let’s go!
Understanding Remote SSH Login IoT Server Free Android
What is SSH and Why Should You Care?
SSH, or Secure Shell, is like the secret handshake of the tech world. It’s a protocol that allows you to securely connect to a remote server over an unsecured network. Think of it as a digital lock that keeps your data safe from prying eyes.
When it comes to IoT servers, SSH is essential. It gives you the ability to control your devices remotely, update software, and monitor performance—all without being physically present. And the best part? You can do all of this for free using your Android device.
Why Use Android for Remote SSH Login?
Android devices are everywhere, and for good reason. They’re powerful, versatile, and most importantly, affordable. With the right apps and tools, you can turn your smartphone or tablet into a remote control for your IoT server.
Here’s the kicker: you don’t need to be a tech wizard to make it work. There are plenty of user-friendly apps and tutorials available that walk you through the process step by step. So, whether you’re a seasoned pro or a total newbie, you can get up and running in no time.
Setting Up Your IoT Server for Remote SSH Login
Step 1: Install an SSH Server on Your IoT Device
Before you can start logging in remotely, you’ll need to set up an SSH server on your IoT device. This is the part that might sound intimidating, but trust me, it’s easier than it seems.
Read also:Unlocking The Secrets Of Softcore Hard Oral A Deep Dive Into The Trend
Here’s a quick rundown of what you’ll need to do:
- Choose an SSH server software that’s compatible with your IoT device.
- Install the software and configure it according to the manufacturer’s instructions.
- Set a strong password to ensure your server is secure.
Once you’ve got your SSH server up and running, you’re ready to move on to the next step.
Step 2: Find Your IoT Server’s IP Address
Your IoT server’s IP address is like its digital address. Without it, you won’t be able to connect remotely. To find it, you can usually check your router’s settings or use a command-line tool like ifconfig or ip addr.
Make sure to note down the IP address, as you’ll need it later when setting up your Android device. And remember, if you’re connecting from outside your local network, you’ll need to use your public IP address instead.
Connecting to Your IoT Server from Android
Choosing the Right SSH Client App
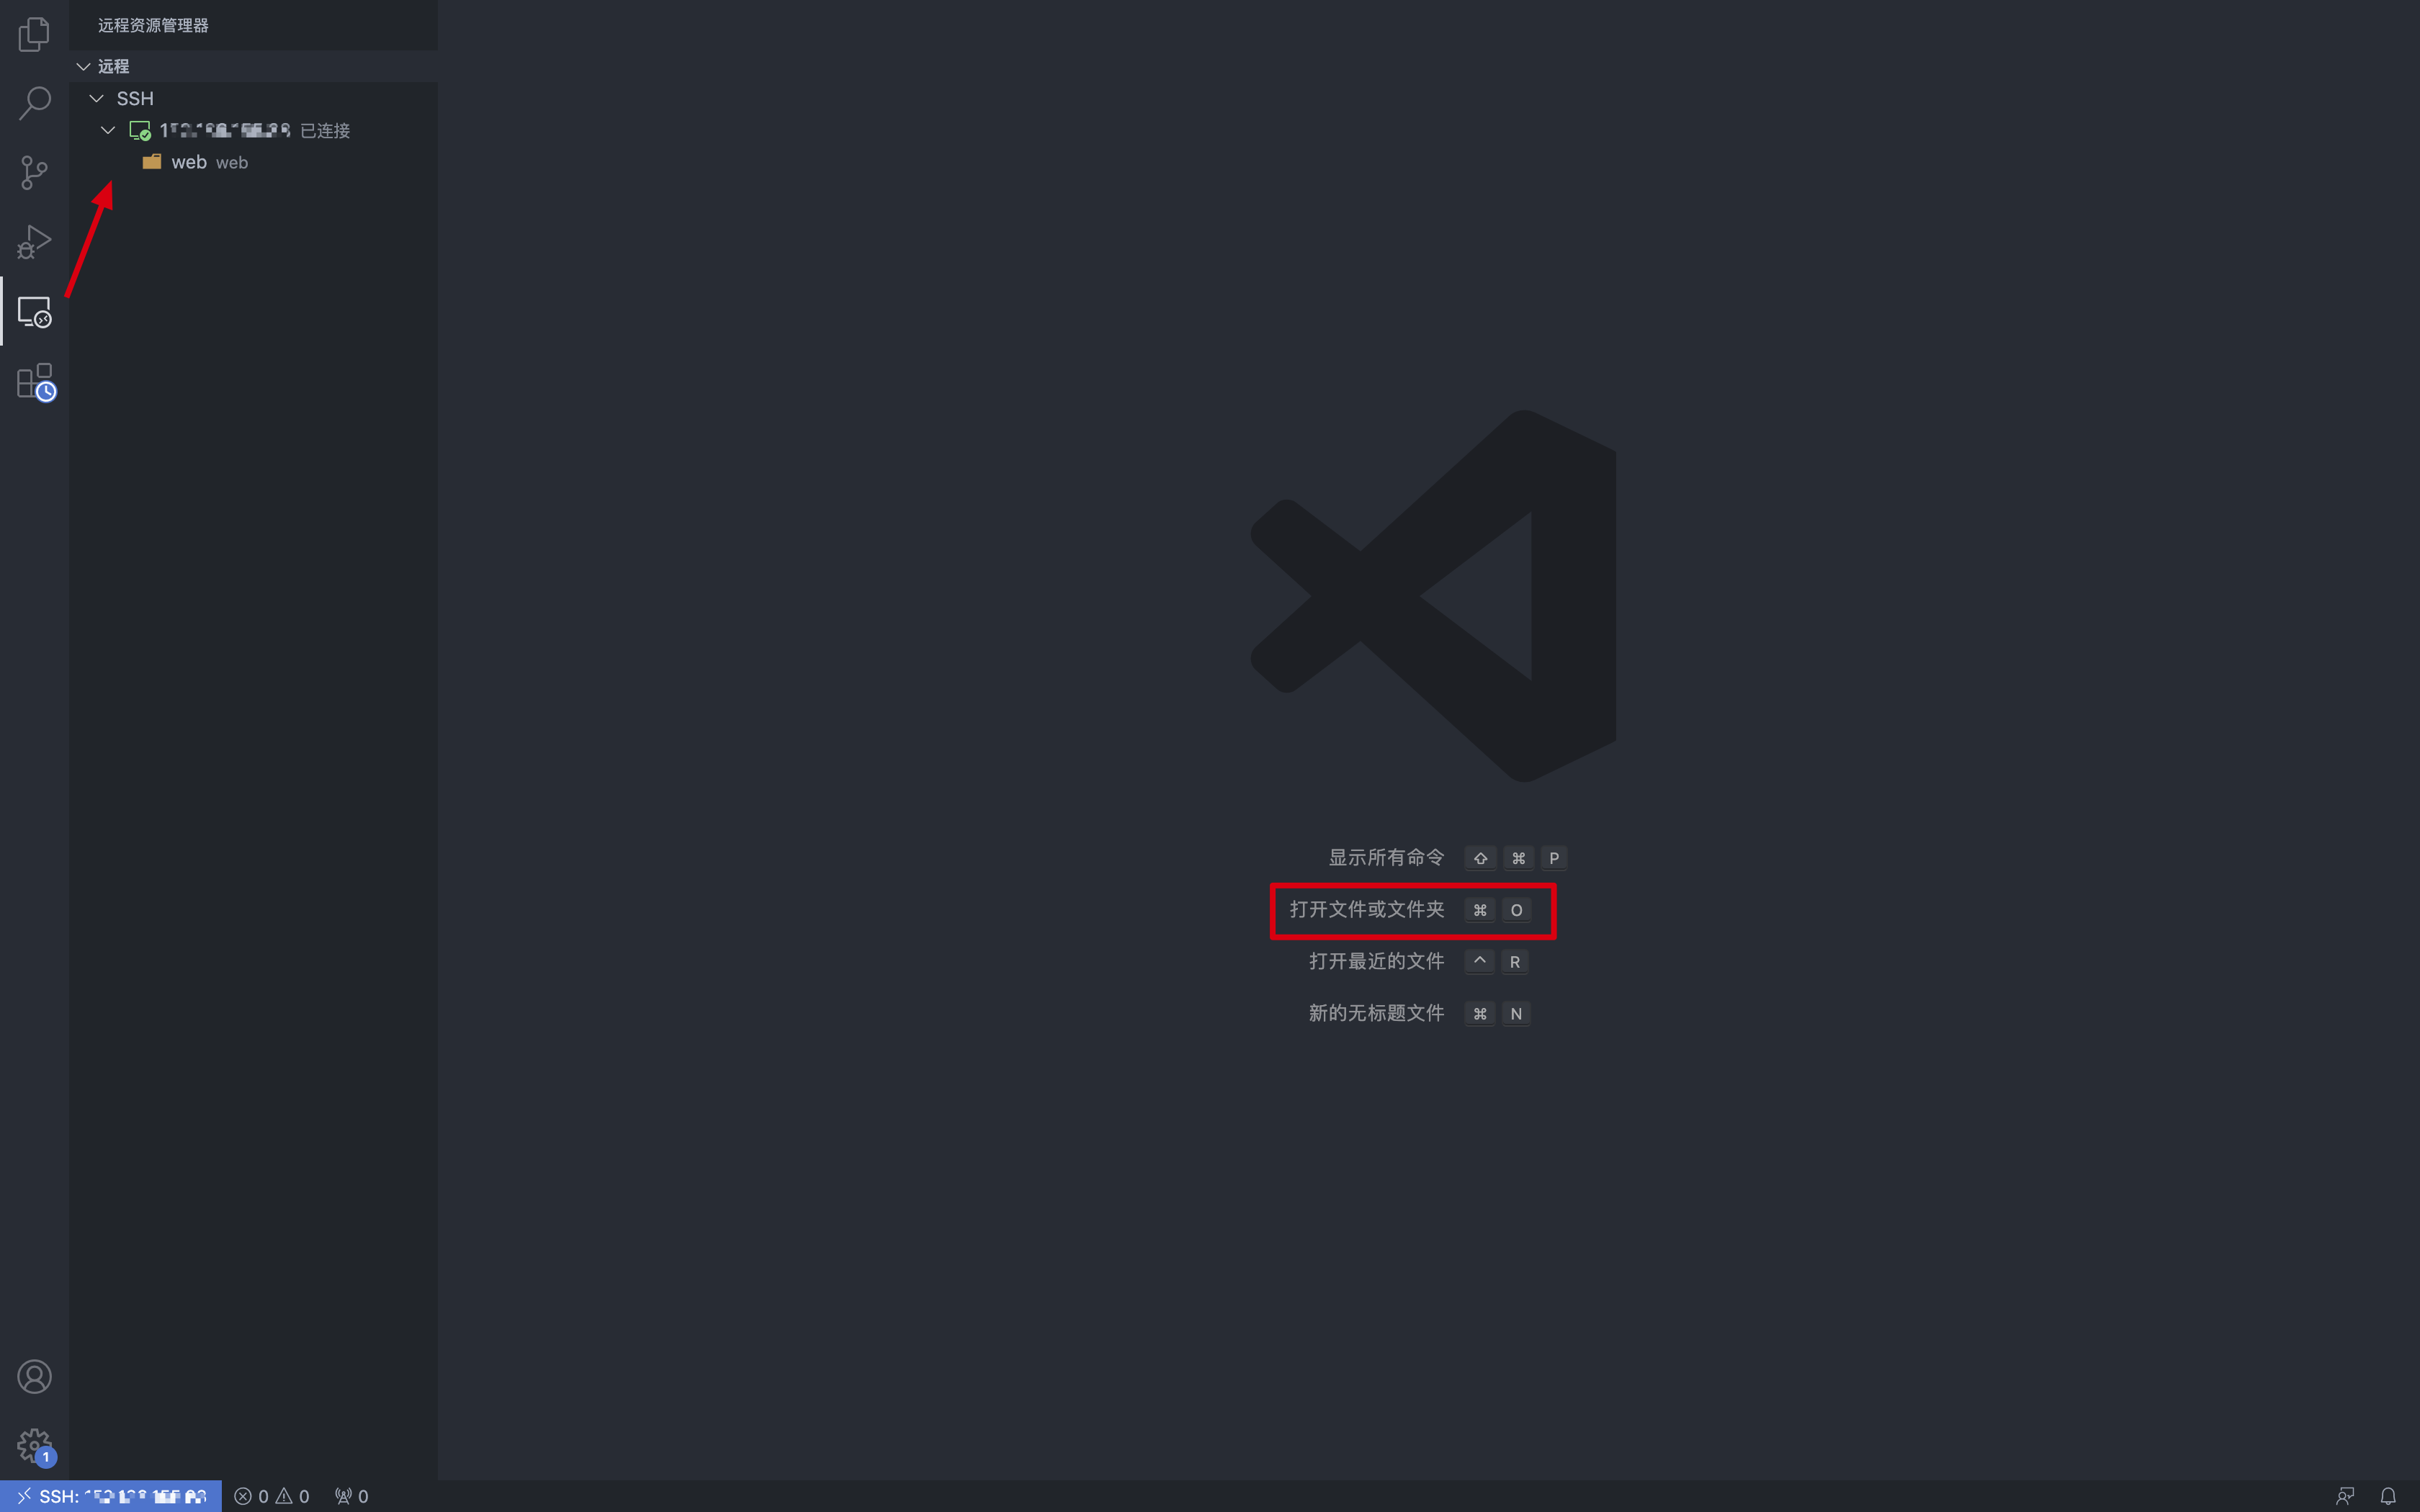
There are tons of SSH client apps available for Android, but not all of them are created equal. When choosing an app, look for one that’s reliable, secure, and easy to use. Some popular options include JuiceSSH, ConnectBot, and Termius.
Each app has its own unique features, so it’s worth trying a few to see which one works best for you. And the best part? Many of these apps are completely free, so you don’t have to worry about breaking the bank.
Configuring Your SSH Client
Once you’ve downloaded and installed your chosen SSH client app, it’s time to configure it. Here’s how:
- Open the app and create a new connection profile.
- Enter your IoT server’s IP address, port number (usually 22), and username.
- Save the profile and test the connection to make sure everything is working correctly.
And just like that, you’re ready to start remotely accessing your IoT server from your Android device.
Tips for Securing Your Remote SSH Login
Enable Key-Based Authentication
Passwords are great, but they’re not foolproof. To add an extra layer of security, consider enabling key-based authentication. This involves generating a public and private key pair and configuring your SSH server to only accept connections using the private key.
It might sound complicated, but most SSH client apps have built-in tools to help you generate and manage your keys. And once you’ve set it up, you’ll enjoy the peace of mind that comes with knowing your connection is as secure as it can be.
Use a Non-Standard Port
By default, SSH uses port 22. While this works fine for most people, it also makes your server an easy target for hackers. To make things a little harder for the bad guys, consider changing the port number to something less obvious.
Just remember to update your SSH client app with the new port number, or you won’t be able to connect.
Common Issues and Troubleshooting
Connection Refused Errors
One of the most common issues people encounter when setting up remote SSH login is connection refused errors. This usually happens when the SSH server isn’t running or the firewall is blocking the connection.
To fix it, make sure your SSH server is up and running and check your firewall settings to ensure port 22 (or your chosen port) is open. If you’re still having trouble, try restarting your router or contacting your internet service provider for further assistance.
Authentication Failed Errors
Authentication failed errors are usually caused by incorrect login credentials. Double-check that you’ve entered the right username and password, and make sure there are no typos.
If you’re using key-based authentication, verify that your private key is correctly configured and that the public key is installed on your server.
Advanced Techniques for Remote SSH Login
Setting Up a Dynamic DNS Service
If you’re planning to access your IoT server from outside your local network, you’ll need to deal with the issue of changing IP addresses. That’s where dynamic DNS services come in.
A dynamic DNS service assigns a hostname to your public IP address and updates it automatically whenever your IP changes. This makes it much easier to connect to your server without having to constantly check your IP address.
Using SSH Tunnels for Secure Connections
SSH tunnels are a powerful tool for securing your connections. They work by encrypting all data sent between your Android device and your IoT server, making it virtually impossible for anyone to intercept your communications.
Most SSH client apps support tunneling, so setting it up is usually as simple as enabling the feature in the app’s settings.
Real-World Applications of Remote SSH Login
Managing Smart Home Devices
One of the most popular uses for remote SSH login is managing smart home devices. Whether you’re controlling your thermostat, adjusting lighting, or monitoring security cameras, SSH gives you the power to do it all from anywhere in the world.
Monitoring Industrial Equipment
In the industrial sector, remote SSH login is essential for monitoring and maintaining equipment. It allows engineers and technicians to troubleshoot issues, update software, and perform routine maintenance without having to be on-site.
Conclusion
So there you have it—everything you need to know about remote SSH login IoT server free Android. From setting up your server to troubleshooting common issues, this guide has covered it all. By following these steps, you’ll be able to remotely access your IoT server with confidence and ease.
Remember, security is key. Always use strong passwords, enable key-based authentication, and consider using a non-standard port to keep your server safe from prying eyes. And don’t forget to take advantage of dynamic DNS services and SSH tunnels for added security.
Now it’s your turn. Have you tried remote SSH login IoT server free Android? What challenges did you face, and how did you overcome them? Share your experiences in the comments below, and don’t forget to check out our other articles for more tech tips and tricks.
References
For more information on SSH and IoT, check out these trusted sources:
Table of Contents
- Understanding Remote SSH Login IoT Server Free Android
- What is SSH and Why Should You Care?
- Why Use Android for Remote SSH Login?
- Setting Up Your IoT Server for Remote SSH Login
- Step 1: Install an SSH Server on Your IoT Device
- Step 2: Find Your IoT Server’s IP Address
- Connecting to Your IoT Server from Android
- Choosing the Right SSH Client App
- Configuring Your SSH Client
- Tips for Securing Your Remote SSH Login
- Enable Key-Based Authentication
- Use a Non-Standard Port
- Common Issues and Troubleshooting
- Connection Refused Errors
- Authentication Failed Errors