Imagine this—you're chilling at home, sipping your favorite coffee, and suddenly you realize you need to update your Raspberry Pi and IoT devices without actually being physically near them. Sounds like a dream, right? But guess what? It's totally possible! With the power of remote access and a seamless update download process on Windows, you can manage your Raspberry Pi and IoT devices from anywhere in the world. Whether you're a tech enthusiast or a professional developer, mastering this skill is a game-changer.
Remote management of Raspberry Pi and IoT devices has become an essential skill in today's interconnected world. As more people embrace smart home solutions, industrial automation, and IoT applications, the ability to update and maintain these devices remotely is no longer a luxury—it's a necessity. In this article, we'll dive deep into how you can effortlessly manage your Raspberry Pi and IoT devices from your Windows machine.
This guide isn't just another tech tutorial; it's your roadmap to becoming a pro at remote device management. From setting up remote access to downloading updates seamlessly, we'll cover everything you need to know. So, buckle up and let's get started!
Read also:Keith Conan Richter Released The Untold Story You Wont Believe
Table of Contents
- Introduction to Remote Raspberry Pi and IoT Device Management
- Setting Up Your Raspberry Pi for Remote Access
- Understanding IoT Devices and Their Importance
- Connecting Raspberry Pi to Windows
- Downloading Updates for Raspberry Pi and IoT Devices
- Securing Your Remote Connections
- Essential Tools for Remote Management
- Pro Tips for Efficient Remote Management
- Common Issues and How to Fix Them
- The Future of Remote Device Management
- Conclusion and Next Steps
Introduction to Remote Raspberry Pi and IoT Device Management
Why Remote Access Matters
Let's face it—life gets busy, and sometimes you just can't be physically present to manage your tech setups. That's where remote access comes into play. Whether you're managing a fleet of IoT devices for a business or tinkering with your Raspberry Pi at home, being able to access and update these devices remotely saves time and effort. It's like having a virtual assistant who can handle your tech needs while you focus on other important tasks.
But here's the thing—remote management isn't as simple as it sounds. You need the right tools, configurations, and a bit of know-how to make it work smoothly. That's why we're here—to guide you through the entire process step by step.
Setting Up Your Raspberry Pi for Remote Access
Step 1: Install SSH on Your Raspberry Pi
SSH (Secure Shell) is your best friend when it comes to remote access. Think of it as a secure tunnel that allows you to communicate with your Raspberry Pi from anywhere. To enable SSH on your Raspberry Pi, follow these simple steps:
- Power on your Raspberry Pi and connect it to your local network.
- Open the terminal and type
sudo raspi-config. - Navigate to the "Interfacing Options" and enable SSH.
- Reboot your Raspberry Pi to apply the changes.
And just like that, your Raspberry Pi is ready for remote access!
Understanding IoT Devices and Their Importance
What Are IoT Devices Anyway?
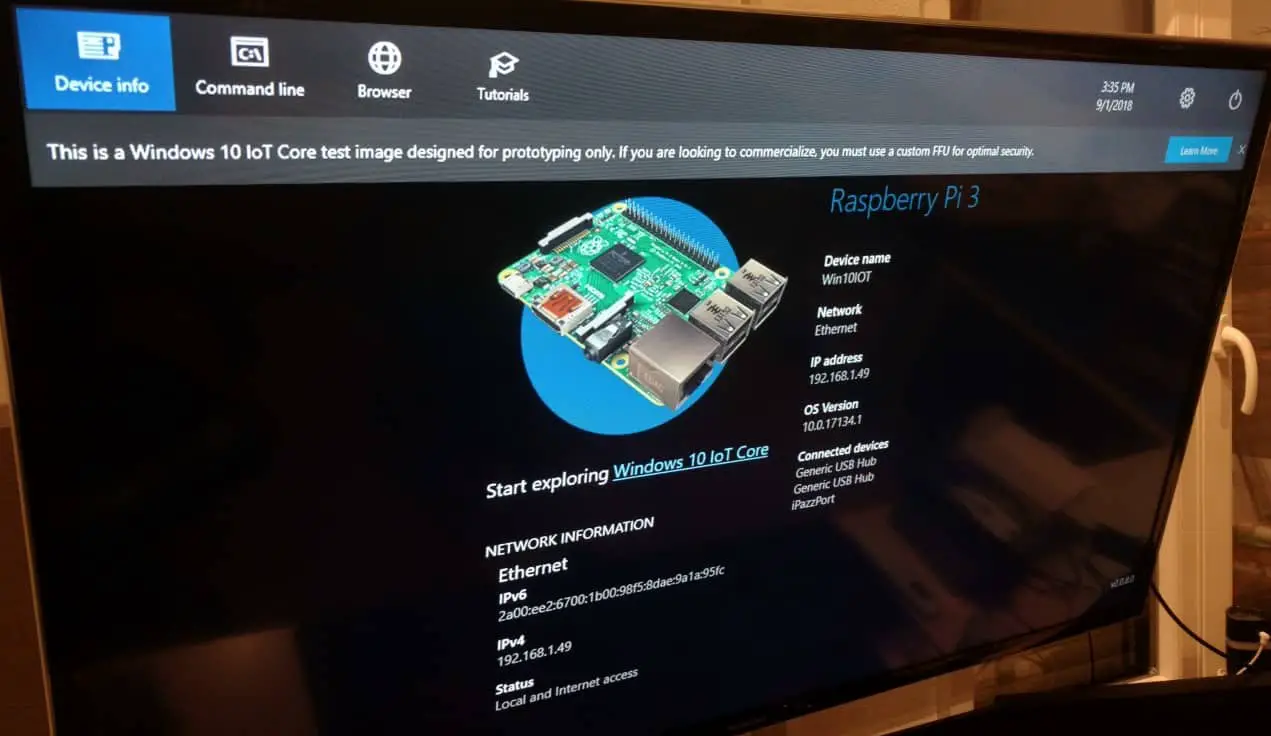
IoT, or the Internet of Things, refers to a network of interconnected devices that can communicate and exchange data. These devices range from smart home gadgets like thermostats and security cameras to industrial sensors and wearable tech. The beauty of IoT lies in its ability to automate processes, improve efficiency, and provide real-time insights.
Managing IoT devices remotely is crucial, especially when you're dealing with large-scale deployments. Imagine having to physically access hundreds of devices scattered across different locations—sounds like a nightmare, right? That's why remote management is a must-have skill for anyone working with IoT.
Read also:Covington Jail Inmate List A Comprehensive Guide To Understanding Jail Records
Connecting Raspberry Pi to Windows
Using PuTTY for SSH Connections
Now that your Raspberry Pi is set up for remote access, it's time to connect it to your Windows machine. One of the easiest ways to do this is by using PuTTY, a popular SSH client for Windows. Here's how you can set it up:
- Download and install PuTTY from the official website.
- Launch PuTTY and enter your Raspberry Pi's IP address in the "Host Name" field.
- Select "SSH" as the connection type and click "Open."
- Log in using your Raspberry Pi's credentials.
With PuTTY, you can easily manage your Raspberry Pi from your Windows machine. It's like having a direct line to your device, no matter where you are.
Downloading Updates for Raspberry Pi and IoT Devices
Keeping Your Devices Up to Date
Just like any other tech setup, Raspberry Pi and IoT devices require regular updates to stay secure and perform optimally. Here's how you can download and install updates for your devices:
- Log in to your Raspberry Pi via SSH.
- Run the command
sudo apt updateto fetch the latest package lists. - Follow up with
sudo apt upgradeto install the updates.
For IoT devices, check the manufacturer's website for firmware updates and follow their instructions for installation. Staying up to date ensures that your devices are protected against vulnerabilities and running smoothly.
Securing Your Remote Connections
Best Practices for Remote Access
Security should always be a top priority when it comes to remote access. Here are some tips to keep your connections safe:
- Use strong, unique passwords for your Raspberry Pi and IoT devices.
- Enable two-factor authentication (2FA) whenever possible.
- Regularly update your devices to patch security vulnerabilities.
- Limit access to trusted IP addresses if possible.
By following these best practices, you can minimize the risk of unauthorized access and protect your devices from potential threats.
Essential Tools for Remote Management
Tools That Make Life Easier
There are several tools available that can enhance your remote management experience:
- TeamViewer: A versatile tool for remote desktop access and support.
- ngrok: A handy tool for creating secure tunnels to your local server.
- WinSCP: A powerful SFTP client for securely transferring files.
These tools can simplify your workflow and make remote management a breeze.
Pro Tips for Efficient Remote Management
Hacks to Boost Your Productivity
Here are a few pro tips to help you manage your Raspberry Pi and IoT devices more efficiently:
- Create scripts to automate repetitive tasks like updates and backups.
- Document your configurations and settings for future reference.
- Monitor your devices regularly to catch issues before they escalate.
By implementing these tips, you can streamline your workflow and focus on more important tasks.
Common Issues and How to Fix Them
Dealing with Connection Problems
Even with the best setup, you might encounter issues from time to time. Here are some common problems and their solutions:
- Can't connect via SSH: Check your Raspberry Pi's IP address and ensure that SSH is enabled.
- Slow connection: Optimize your network settings and use compression in PuTTY.
- Authentication failure: Double-check your login credentials and ensure that your passwords are correct.
With a bit of troubleshooting, you can overcome most issues and get back to managing your devices.
The Future of Remote Device Management
What's Next for IoT and Raspberry Pi?
The world of IoT and remote device management is evolving rapidly. With advancements in 5G technology, edge computing, and AI, the possibilities are endless. In the future, we can expect even more seamless and secure ways to manage our devices remotely.
As a tech enthusiast, staying updated with the latest trends and innovations is key to staying ahead of the curve. Keep an eye on emerging technologies and tools that can enhance your remote management capabilities.
Conclusion and Next Steps
In this guide, we've covered everything you need to know about remote Raspberry Pi and IoT device management on Windows. From setting up SSH to downloading updates and securing your connections, you're now equipped with the knowledge to manage your devices like a pro.
So, what's next? Take action! Start by setting up SSH on your Raspberry Pi and connecting it to your Windows machine. Experiment with different tools and techniques to find what works best for you. And don't forget to share your experiences and tips with the community. Together, we can build a smarter, more connected world.
Happy tinkering, and see you in the next article!