Listen up, tech enthusiasts! If you're reading this, chances are you've already jumped into the world of Raspberry Pi and are wondering how to access Raspberry Pi SSH remotely. Well, buckle up because we're about to take you on a wild ride through the ins and outs of remote SSH access. Whether you're a seasoned pro or just starting out, this guide is packed with actionable tips and tricks to make your life easier. So, grab your favorite beverage and let's dive in!
In today's fast-paced digital world, being able to access your Raspberry Pi remotely can save you tons of time and effort. Imagine controlling your Pi from across the globe without needing to physically touch it. Sounds like magic, right? But here's the deal: it's not magic—it's SSH, and we're here to teach you how to harness its power. From setting up your Pi to troubleshooting common issues, we've got you covered.
Before we jump into the nitty-gritty details, let's quickly clarify what SSH is all about. SSH, or Secure Shell, is a protocol that allows you to securely connect to a remote device over an unsecured network. Think of it as a secret tunnel that lets you communicate with your Pi without prying eyes. Now that we've set the stage, let's get down to business and explore how to access Raspberry Pi SSH remotely like a pro.
Read also:Keith Conan Richter Released The Untold Story You Wont Believe
Why You Need to Access Raspberry Pi SSH Remotely
Here's the deal: accessing your Raspberry Pi remotely isn't just convenient—it's essential. Whether you're managing a home server, running a media center, or building an IoT project, having remote access can simplify your workflow. Instead of physically interacting with your Pi every time you need to make changes, you can do it from anywhere in the world. Sounds pretty sweet, doesn't it?
But wait, there's more! Remote SSH access also enhances security. By configuring SSH properly, you can ensure that only authorized users can access your Pi, keeping your sensitive data safe from hackers. Plus, it's a great way to learn more about networking and cybersecurity, which are valuable skills in today's tech-driven world.
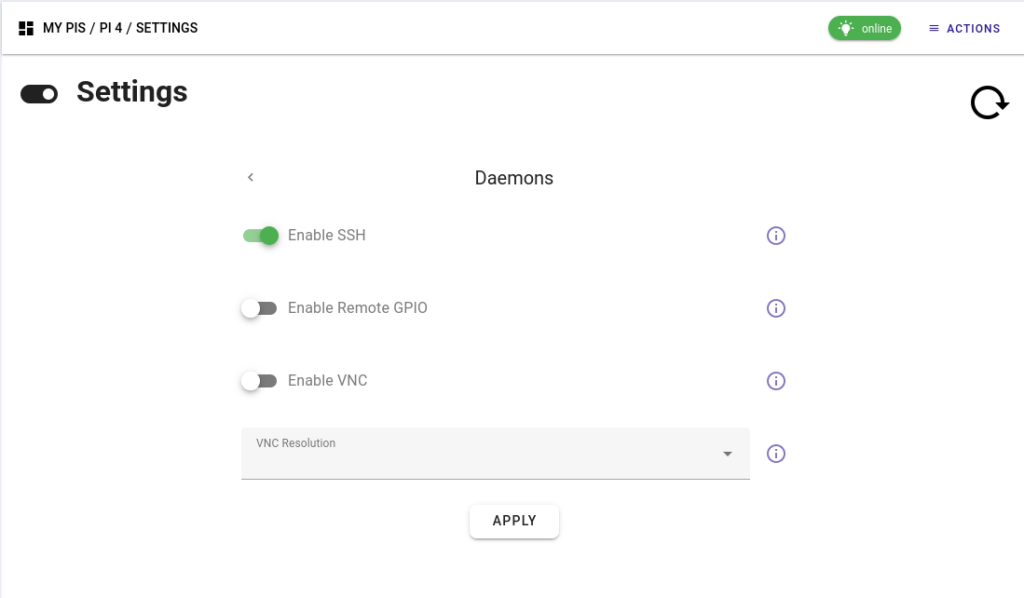
Setting Up Your Raspberry Pi for Remote SSH Access
Alright, let's roll up our sleeves and get to work. The first step in accessing Raspberry Pi SSH remotely is setting up your Pi correctly. Don't worry—it's not as complicated as it sounds. Follow these simple steps, and you'll be good to go:
- Make sure your Raspberry Pi is connected to the internet.
- Update your Pi's operating system by running
sudo apt updateandsudo apt upgrade. - Enable SSH on your Pi by navigating to
Raspberry Pi Configurationor runningsudo raspi-config.
Once you've completed these steps, your Pi will be ready to accept SSH connections. Easy peasy, right? But we're just getting started. Let's move on to the next section and explore how to connect to your Pi remotely.
Tips for a Secure SSH Setup
Security should always be at the forefront of your mind when setting up SSH. Here are a few tips to keep your Pi safe:
- Change the default SSH port from 22 to something less obvious.
- Use strong passwords or, better yet, set up SSH keys for authentication.
- Disable root login to prevent unauthorized access.
By following these best practices, you'll significantly reduce the risk of unauthorized access to your Pi. Now that we've covered the basics, let's dive deeper into the world of remote SSH access.
Read also:Kyle Cheney And Liz Cheney The Family Connection You Need To Know
Understanding the Basics of SSH
Before we move on, let's take a moment to understand how SSH works. At its core, SSH is a cryptographic protocol that provides secure communication over an unsecured network. It uses encryption to protect your data and authentication mechanisms to verify your identity. In simpler terms, SSH ensures that your communication with your Pi is private and secure.
Here's a quick breakdown of the key components of SSH:
- Client: The device you're using to connect to your Pi.
- Server: Your Raspberry Pi, which is running the SSH server.
- Keys: A pair of cryptographic keys used for authentication.
Now that you have a better understanding of how SSH works, let's explore some advanced techniques for accessing your Pi remotely.
Using SSH Keys for Secure Authentication
One of the best ways to secure your SSH connection is by using SSH keys instead of passwords. Here's how you can set it up:
- Generate a key pair on your local machine by running
ssh-keygen. - Copy the public key to your Raspberry Pi using
ssh-copy-id pi@your-pi-ip. - Disable password authentication in the SSH configuration file (
/etc/ssh/sshd_config).
By using SSH keys, you eliminate the risk of brute-force attacks and make your connection more secure. Plus, it's super convenient—you won't have to remember a password every time you connect to your Pi.
Advantages of SSH Keys
Here are some of the benefits of using SSH keys:
- Increased security compared to password-based authentication.
- Convenience—no need to enter a password every time you connect.
- Easy to manage multiple devices with a single key pair.
Now that you know how to use SSH keys, let's move on to the next section and explore how to connect to your Pi from outside your local network.
Connecting to Your Raspberry Pi from Outside Your Network
So, you've set up SSH on your Pi and configured it for secure access. But what if you want to connect to your Pi from outside your local network? Fear not! There are several ways to achieve this:
Option 1: Port Forwarding
Port forwarding is one of the most common methods for accessing your Pi remotely. Here's how you can set it up:
- Log in to your router's admin interface.
- Find the port forwarding settings and create a new rule.
- Set the external port to the one you want to use for SSH (e.g., 2222).
- Set the internal IP address to your Pi's IP address and the internal port to 22.
Once you've set up port forwarding, you can connect to your Pi using its public IP address and the external port you specified. Easy as pie!
Option 2: Using a Dynamic DNS Service
If your internet service provider assigns a dynamic IP address to your router, you might want to consider using a dynamic DNS service. These services provide you with a hostname that automatically updates to point to your current IP address. Some popular options include No-IP and DynDNS.
Here's how you can set it up:
- Sign up for a dynamic DNS service and create a hostname.
- Install the dynamic DNS client on your router or Pi.
- Configure the client to update the hostname with your current IP address.
With dynamic DNS, you can connect to your Pi using a hostname instead of an IP address, making it much easier to remember.
Option 3: Using a Third-Party Service
If you're not comfortable setting up port forwarding or dynamic DNS, you can use a third-party service like ngrok or PageKite. These services provide you with a temporary URL that forwards traffic to your Pi's SSH server. While not as secure as the other options, they can be a quick and easy way to access your Pi remotely.
Troubleshooting Common SSH Issues
Even with the best setup, things can sometimes go wrong. Here are some common SSH issues and how to fix them:
- Connection Refused: Make sure SSH is enabled on your Pi and that your firewall isn't blocking the SSH port.
- Permission Denied: Double-check your SSH keys and ensure that password authentication is enabled if you're using it.
- Connection Timeout: Verify that your router is configured correctly and that your Pi's IP address hasn't changed.
By troubleshooting these common issues, you'll be able to maintain a stable and secure SSH connection to your Pi.
Best Practices for Remote SSH Access
Now that you know how to access Raspberry Pi SSH remotely, let's talk about some best practices to keep your setup running smoothly:
- Regularly update your Pi's operating system and SSH server.
- Monitor your SSH logs for suspicious activity.
- Use a strong firewall to protect your network.
By following these best practices, you'll ensure that your Pi remains secure and accessible whenever you need it.
Staying Up-to-Date with Security Updates
Security threats are constantly evolving, so it's important to stay up-to-date with the latest patches and updates. Subscribe to security mailing lists and follow reputable tech blogs to keep informed about potential vulnerabilities.
Conclusion: Take Your Raspberry Pi to the Next Level
And there you have it, folks! You now know how to access Raspberry Pi SSH remotely like a pro. From setting up SSH to troubleshooting common issues, we've covered everything you need to get started. Remember, security is key, so always follow best practices to protect your Pi from unauthorized access.
So, what are you waiting for? Go ahead and try it out! And don't forget to leave a comment below or share this article with your fellow tech enthusiasts. Together, let's build a better, more connected world—one Raspberry Pi at a time.
Table of Contents
- Why You Need to Access Raspberry Pi SSH Remotely
- Setting Up Your Raspberry Pi for Remote SSH Access
- Understanding the Basics of SSH
- Using SSH Keys for Secure Authentication
- Connecting to Your Raspberry Pi from Outside Your Network
- Troubleshooting Common SSH Issues
- Best Practices for Remote SSH Access