Are you ready to unlock the full potential of your Raspberry Pi with Remmina VNC? Whether you're a tech enthusiast, hobbyist, or just someone looking to remotely access their Pi, this guide has got you covered. In today's fast-paced world, remote access tools like Remmina VNC are becoming more essential than ever. Let's dive in and explore how you can set up and optimize Remmina VNC on your Raspberry Pi.
Let's be real, working on a Raspberry Pi can sometimes feel like solving a puzzle. But what if I told you there's a way to simplify your workflow and make it super convenient? Enter Remmina VNC, the ultimate remote desktop solution that lets you access your Pi from anywhere. Imagine controlling your Pi from your laptop or even your phone – sounds pretty awesome, right?
Now, before we get into the nitty-gritty details, let's quickly address why Remmina VNC on Raspberry Pi is such a game-changer. It's not just about remote access; it's about efficiency, flexibility, and convenience. Whether you're troubleshooting issues, running scripts, or just managing files, Remmina VNC gives you the power to do it all without being physically present near your Pi. So, buckle up, because we're about to take a deep dive into the world of remote desktops!
Read also:Karryns Prison The Untold Story Of Survival Justice And Redemption
Understanding Remmina VNC and Its Role in Raspberry Pi
First things first, let's break down what Remmina VNC actually is. Remmina is an open-source remote desktop client that supports multiple protocols, including VNC (Virtual Network Computing). When you pair Remmina with your Raspberry Pi, you're essentially creating a powerful remote access system that allows you to control your Pi from any device with an internet connection.
VNC, on the other hand, is a graphical desktop-sharing system that transmits keyboard and mouse events from one computer to another. Together, Remmina and VNC create a seamless experience for users who need to manage their Raspberry Pi remotely. Think of it as having an invisible hand that can operate your Pi no matter where you are.
Here are some key benefits of using Remmina VNC on Raspberry Pi:
- Remote access from any device with an internet connection
- Open-source and completely free
- Supports multiple protocols, making it versatile
- Easy to set up and configure
- Perfect for both beginners and advanced users
Why Choose Remmina VNC for Your Raspberry Pi?
Now that we've covered the basics, let's talk about why Remmina VNC is the go-to choice for Raspberry Pi users. Sure, there are other remote desktop solutions out there, but Remmina stands out for several reasons. First off, it's super lightweight, which is crucial when working with a device like the Raspberry Pi that has limited resources.
Another big advantage is its compatibility. Remmina supports a wide range of protocols, including RDP, SSH, and of course, VNC. This means you can use it not just for Raspberry Pi, but for other devices as well. Plus, its user-friendly interface makes it accessible even for those who aren't tech wizards.
Let's not forget about security. Remmina VNC offers encrypted connections, ensuring that your data stays safe while you're accessing your Pi remotely. In today's world, where cybersecurity threats are rampant, this is a huge plus.
Read also:Cox Outage Map Your Ultimate Guide To Staying Connected
Setting Up Remmina VNC on Raspberry Pi
Alright, let's get down to business. Setting up Remmina VNC on your Raspberry Pi is surprisingly straightforward. Follow these steps, and you'll be up and running in no time:
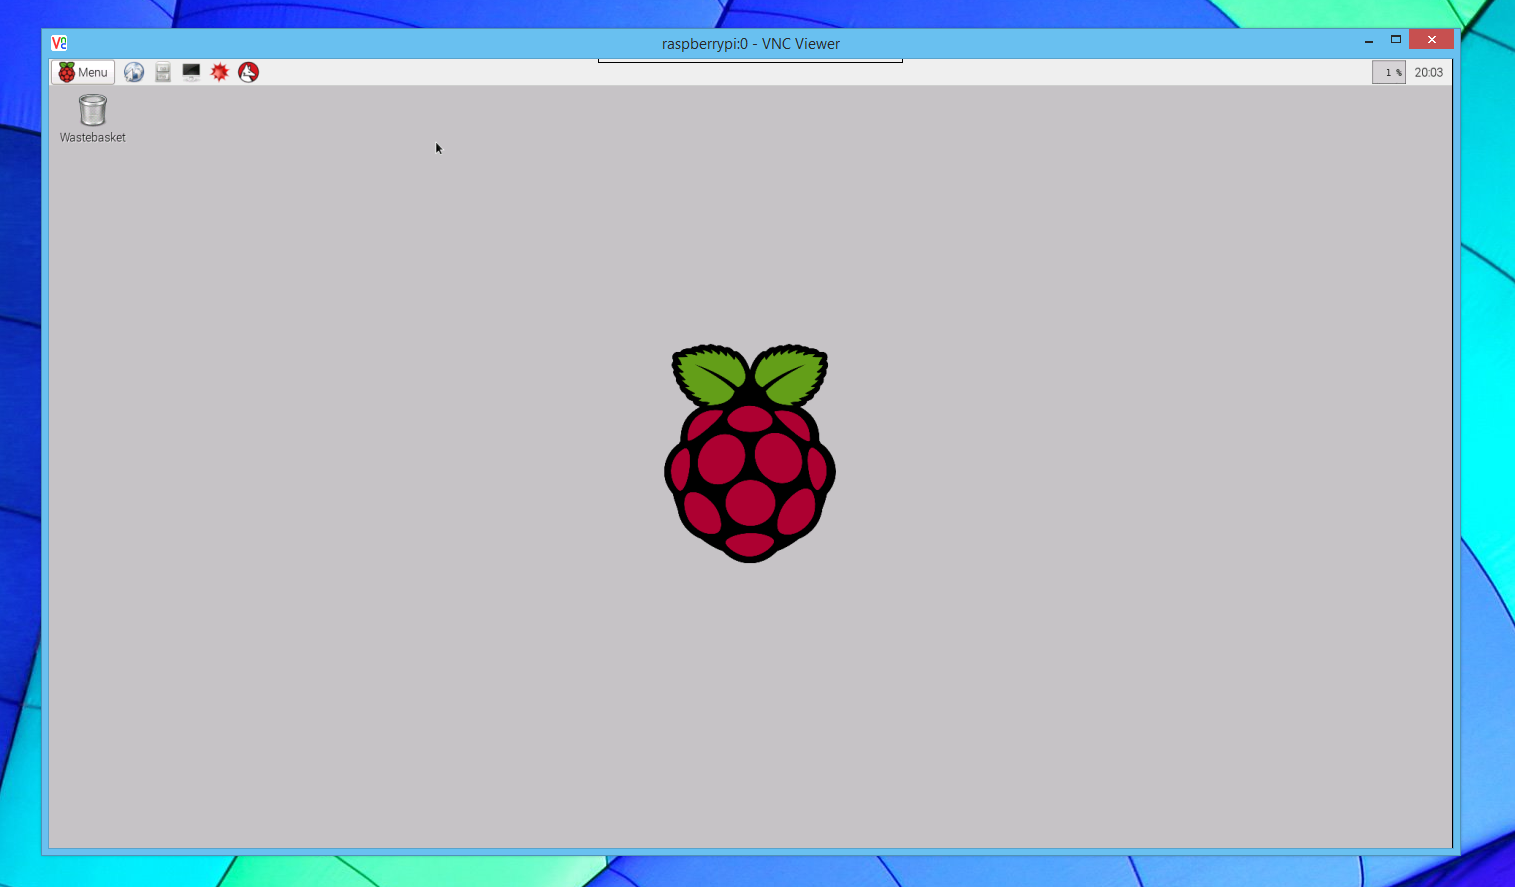
Step 1: Install VNC Server on Raspberry Pi
Before you can use Remmina VNC, you need to set up a VNC server on your Raspberry Pi. Here's how you do it:
- Open the terminal on your Pi
- Type
sudo apt updateand hit Enter - Then type
sudo apt install realvnc-vnc-server realvnc-vnc-viewerto install the VNC server - Once installed, enable the VNC server by typing
sudo raspi-configand navigating to Interfacing Options > VNC > Enable
Step 2: Install Remmina on Your Device
Now that your Pi is ready, it's time to install Remmina on the device you'll be using to access it. If you're using a Linux machine, you can install Remmina by typing sudo apt install remmina in the terminal. For Windows and macOS users, you can download Remmina from their official website.
Troubleshooting Common Issues with Remmina VNC
Even the best tools can sometimes throw a curveball. If you're having trouble setting up Remmina VNC on your Raspberry Pi, don't panic. Here are some common issues and how to fix them:
Issue 1: Connection Refused
If you're getting a "connection refused" error, chances are your VNC server isn't running. Make sure you've enabled the VNC server in the Raspberry Pi configuration settings. You can also try restarting the VNC service by typing sudo service vncserver-x11-serviced restart in the terminal.
Issue 2: Slow Performance
Slow performance can be frustrating, especially when you're trying to get things done. To improve speed, try reducing the screen resolution or disabling desktop effects on your Pi. You can also tweak the VNC settings in Remmina to optimize performance.
Advanced Tips for Optimizing Remmina VNC
Once you've got the basics down, it's time to take your Remmina VNC setup to the next level. Here are some advanced tips to help you get the most out of your remote desktop experience:
Tweak VNC Settings for Better Performance
Did you know you can adjust the compression level and color depth in VNC to improve performance? Lowering the color depth from 24-bit to 16-bit can significantly reduce bandwidth usage, making your connection faster. To do this, go to the VNC settings in Remmina and adjust the options accordingly.
Set Up SSH Tunneling for Enhanced Security
If security is a top priority for you, consider setting up an SSH tunnel for your VNC connection. This encrypts your data and makes it much harder for hackers to intercept. To set up an SSH tunnel, you'll need to configure both your Pi and the device you're connecting from. It might sound complicated, but trust me, it's worth it.
Real-World Use Cases for Remmina VNC on Raspberry Pi
Talking about Remmina VNC is one thing, but seeing it in action is another. Here are some real-world use cases where Remmina VNC can make a big difference:
Use Case 1: Home Automation
Many Raspberry Pi users are into home automation. With Remmina VNC, you can remotely monitor and control your smart home devices from anywhere. Whether you're adjusting the thermostat or checking security camera footage, Remmina VNC makes it easy.
Use Case 2: Remote Development
For developers who use Raspberry Pi as a development platform, Remmina VNC is a lifesaver. It allows you to access your development environment from any device, making it perfect for working on the go. Plus, you can collaborate with team members by sharing your screen in real-time.
Security Best Practices for Remmina VNC
Security should always be a top priority when setting up remote access tools. Here are some best practices to keep your Remmina VNC setup secure:
- Use strong passwords for both your Pi and Remmina
- Enable two-factor authentication if possible
- Regularly update your Pi's software and firmware
- Limit access to trusted devices and networks
- Consider using a firewall to restrict unauthorized access
Exploring Alternative Remote Access Tools
While Remmina VNC is an excellent choice for Raspberry Pi users, it's not the only option out there. Here are a few alternatives worth considering:
TeamViewer
TeamViewer is another popular remote access tool that offers a user-friendly interface and robust security features. It supports multiple platforms, making it a versatile choice for those who need to access various devices.
AnyDesk
AnyDesk is another great option that focuses on speed and efficiency. It uses advanced compression technology to deliver fast and reliable connections, even over slow networks.
Conclusion: Take Your Raspberry Pi Experience to the Next Level
And there you have it, folks! With Remmina VNC, you can take full control of your Raspberry Pi from anywhere in the world. Whether you're a hobbyist, developer, or tech enthusiast, this powerful tool has something to offer everyone.
Remember, setting up Remmina VNC is just the beginning. To truly master it, you'll need to experiment with different settings, explore advanced features, and stay up-to-date with the latest trends in remote access technology. So, what are you waiting for? Give it a try and see how it transforms your Raspberry Pi experience.
Before you go, don't forget to leave a comment and let us know how Remmina VNC has helped you. And if you found this guide useful, feel free to share it with your friends and fellow Raspberry Pi enthusiasts. Happy tinkering!
Table of Contents
- Understanding Remmina VNC and Its Role in Raspberry Pi
- Why Choose Remmina VNC for Your Raspberry Pi?
- Setting Up Remmina VNC on Raspberry Pi
- Troubleshooting Common Issues with Remmina VNC
- Advanced Tips for Optimizing Remmina VNC
- Real-World Use Cases for Remmina VNC on Raspberry Pi
- Security Best Practices for Remmina VNC
- Exploring Alternative Remote Access Tools
- Conclusion: Take Your Raspberry Pi Experience to the Next Level